If you’re considering changing your web hosting provider, migrating your WordPress site might sound like a daunting task. However, with careful planning and the right approach, it can be a smooth and efficient process.
In this guide, we’ll walk you through the step-by-step process of migrating your WordPress site to a new host, ensuring minimal downtime and preserving your website’s integrity.
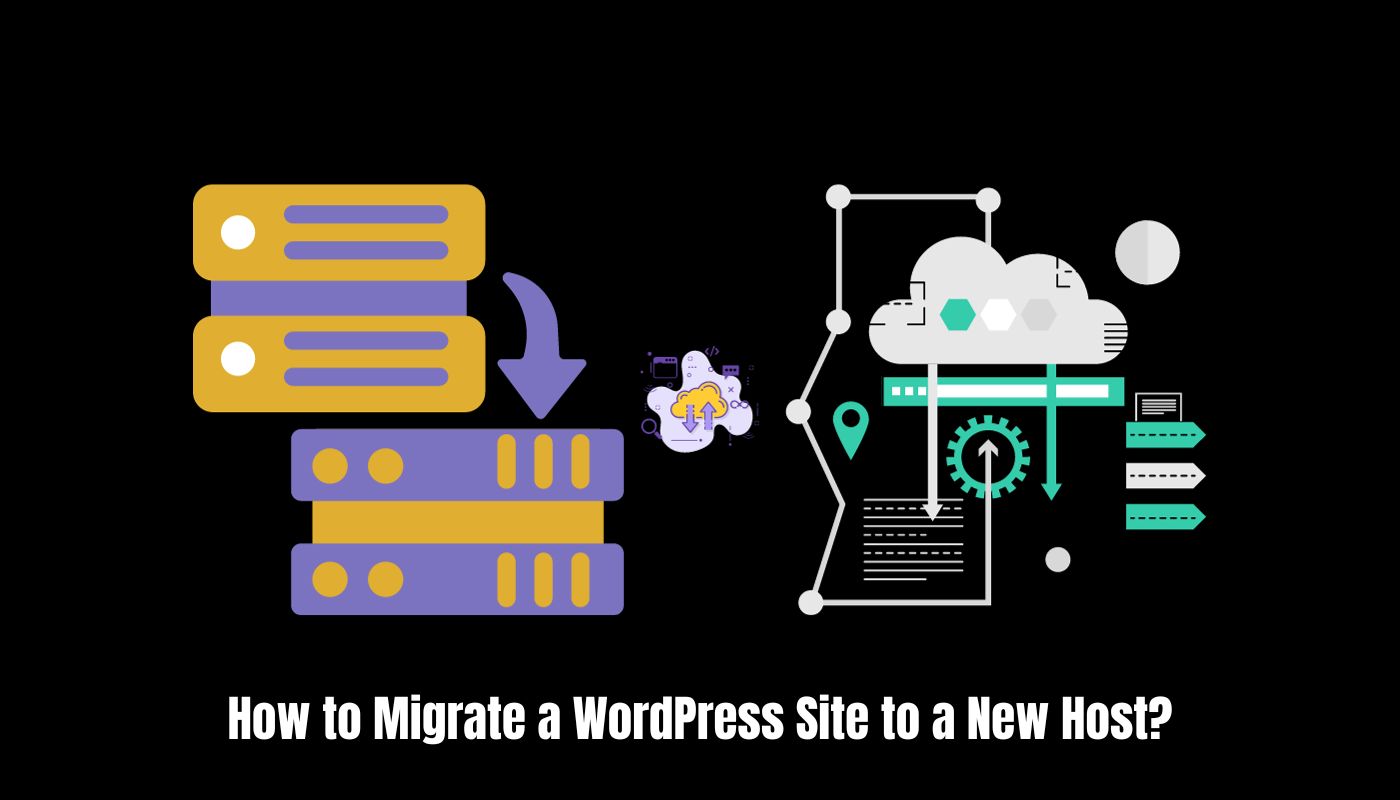
How to Migrate a WordPress Site to a New Host?
Follow the below steps to migrate the WordPress site to a new host
1. Backup Your Website
Before making any changes, create a full backup of your WordPress site. This includes your website files, databases, themes, plugins, and uploaded content. Use reliable backup plugins like UpdraftPlus or BackupBuddy to simplify this crucial step. Store the backup files securely, either on your computer or in a cloud storage service.
2. Choose a New Hosting Provider
Research and select a new hosting provider that aligns with your website’s needs. Consider factors such as server performance, customer support, security features, and scalability. Popular choices include Bluehost, SiteGround, and Kinsta. Sign up for a hosting plan that suits your requirements and offers easy WordPress integration.
3. Set Up Your New Hosting Account
After choosing a new host, set up your hosting account. This involves registering a domain if you haven’t already, configuring your account settings, and accessing your hosting control panel. Most hosting providers offer a user-friendly dashboard, making it easy to manage your hosting environment.
4. Duplicate Your WordPress Site
To migrate your site, duplicate it on the new hosting server. You can achieve this through various methods:
- Manual Migration: Download your website files via FTP, export your database, and upload them to the new host.
- Migration Plugins: Plugins like Duplicator or All-in-One WP Migration automate the process, simplifying the transfer of your site to the new server.
5. Update Domain DNS Settings
Point your domain to the new host by updating your DNS settings. This involves changing the nameservers to those provided by your new hosting provider. The specifics vary depending on your domain registrar, so consult their documentation or support for guidance.
6. Test Your Website on the New Host
Before finalizing the migration, thoroughly test your website on the new host. Check functionality, ensure all pages load correctly, and test forms and other interactive elements. This step helps identify and address any issues before making the new site live.
7. Finalize the Migration
Once you’ve confirmed that your website works seamlessly on the new host, you can finalize the migration. This involves updating your domain’s DNS settings to point to the new host permanently. Keep in mind that DNS changes might take some time to propagate across the internet.
8. Monitor and Troubleshoot
After migration, monitor your website’s performance, and address any issues that may arise. Check for broken links, missing images, or other anomalies. Regularly test your site’s speed and functionality to ensure a positive user experience.
Conclusion
Migrating your WordPress site to a new host may seem intricate, but careful planning and methodical execution can make it a seamless process. By following these steps, you can ensure minimal disruption to your website’s functionality and provide your audience with a consistent online experience on your new hosting platform.
