Transferring your domain to AWS is a smart move for better performance and management. In this guide, we’ll break down the process into easy-to-follow steps.
Why Choose AWS?
Before we start, let’s quickly highlight why AWS is a fantastic choice for hosting your domain. AWS, or Amazon Web Services, offers top-notch reliability, security, and scalability for your website.
How to transfer a domain to AWS?
Follow the below steps to transfer the domain to AWS:
Step 1: Preparing for the Transfer
First things first, gather all necessary information about your current domain registration. This includes your domain authorization code and ensuring that your contact information is up-to-date.
Step 2: Accessing AWS Management Console
Log in to your AWS account and head to the AWS Management Console. If you don’t have an account, don’t worry – creating one is a breeze.
Step 3: Navigating to Route 53
Once logged in, locate the “Route 53” service in the AWS Management Console. This is where the magic happens!
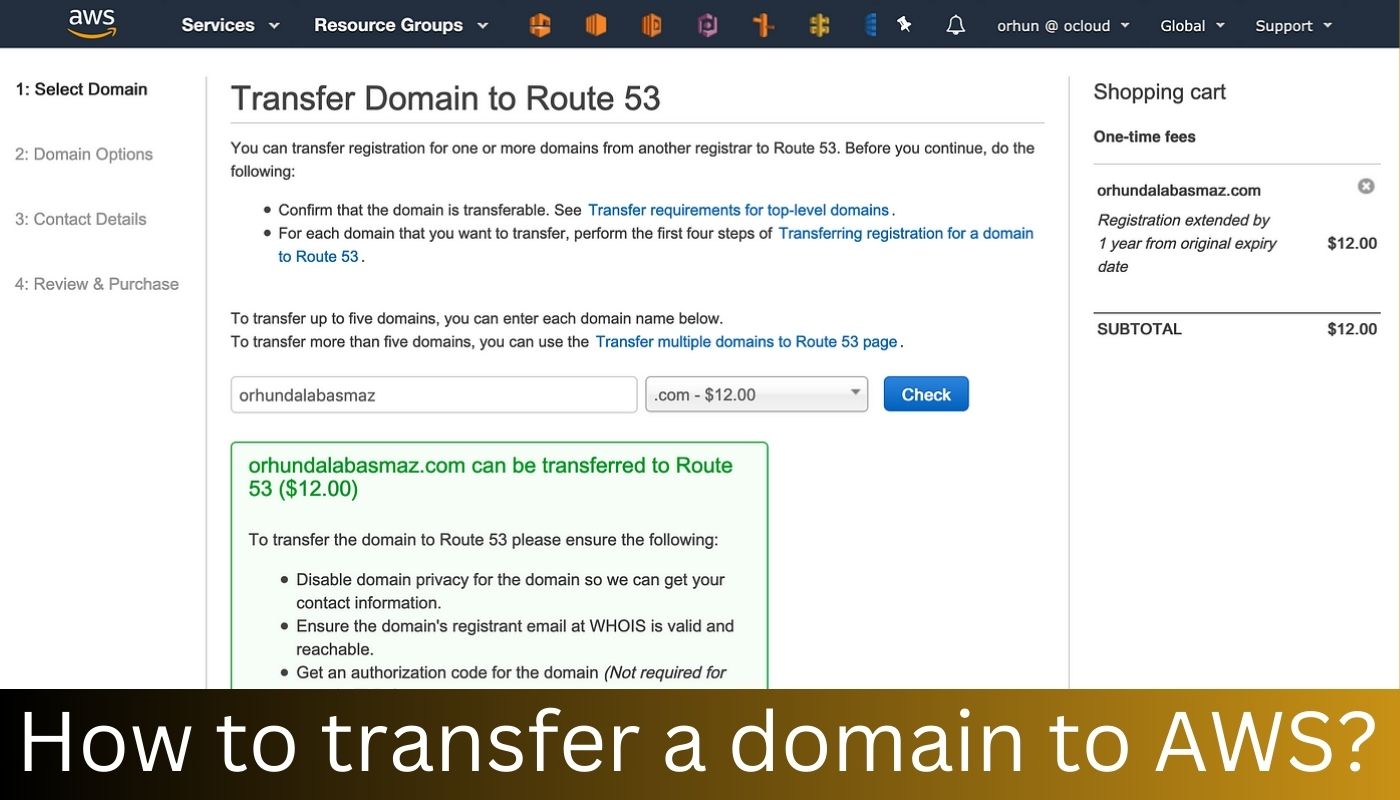
Step 4: Initiating Domain Transfer
Click on “Transfer Domain” and follow the prompts. Input your domain name, authorization code, and any additional information required.
Step 5: Review and Confirm
Double-check all the details you’ve entered. Accuracy is key here. Once satisfied, hit that confirmation button to initiate the transfer.
Step 6: Confirming Email
You’ll receive an email from AWS to confirm the transfer. Open it, click the provided link, and voila – you’re almost there!
Congratulations! You’ve successfully initiated the transfer of your domain to AWS. Expect improved performance and a smoother website management experience.
Conclusion
In conclusion, transferring your domain to AWS is a savvy move for a more reliable and efficient online presence. Follow these simple steps, and you’ll be enjoying the benefits in no time.
Remember, the key is simplicity, and AWS has got your back. Happy transferring!

