In the world of word processing, Microsoft Word has emerged as a powerful and widely-used tool. It offers a range of features that enhance the efficiency and professionalism of document creation. One such feature is the Table of Contents (TOC), which enables users to navigate lengthy documents with ease.
In this article, we will delve into the intricacies of creating and customizing a Microsoft Word Table of Contents, exploring its benefits and providing step-by-step instructions to master this invaluable tool.
What is Table of Contents in Microsoft Word?
Before diving into the details, let’s start with a brief overview of what a Table of Contents is.
Essentially, a Table of Contents is a navigational aid that provides a hierarchical outline of the document’s contents, including its headings and subheadings.
It allows readers to quickly locate specific sections or topics within a lengthy document, saving them time and effort.
Moreover, a well-designed Table of Contents adds a professional touch to your document, making it more user-friendly and visually appealing.
The Importance of a Table of Contents
- Easy Navigation
- A Table of Contents acts as a roadmap for readers, allowing them to jump to specific sections effortlessly. This feature proves especially useful in lengthy documents such as reports, research papers, or books.
- Time-Saving
- By providing a quick overview of the document’s structure, a Table of Contents enables readers to locate desired information without scrolling or searching extensively. It streamlines the reading process and saves valuable time.
- Document Organization
- A well-structured Table of Contents reflects the logical flow and organization of your document. It ensures that readers can grasp the main ideas and follow the document’s progression.
- Professionalism
- Including a Table of Contents in your document adds a professional touch. It demonstrates your attention to detail and enhances the overall readability of the content.
Creating a Table of Contents in Microsoft Word
Now that we understand the importance of a Table of Contents, let’s explore how to create one in Microsoft Word. Follow the steps below to master this feature:
Step 1: Applying Heading Styles
The first step in creating a Table of Contents is to apply heading styles to the relevant sections and sub-sections of your document. Microsoft Word provides various heading styles, such as Heading 1, Heading 2, and so on, which establish a hierarchy within your content. To apply a heading style:
- Select the text you want to format as a heading.
- On the Home tab, navigate to the Styles group.
- Choose the appropriate heading style from the options provided.
Remember to consistently apply heading styles throughout your document to ensure accurate and organized Table of Contents.
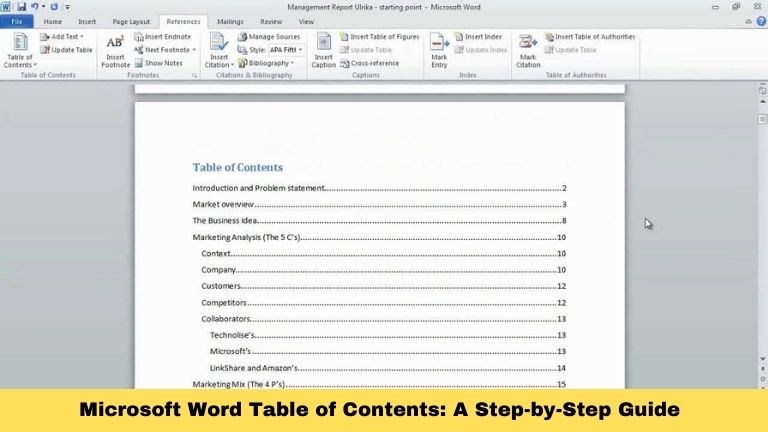
Step 2: Inserting the Table of Contents
Once you’ve applied heading styles to your document, you’re ready to insert the Table of Contents. Microsoft Word offers a user-friendly approach to this process. Follow these steps:
- Place your cursor at the desired location where you want the Table of Contents to appear.
- Navigate to the References tab and locate the Table of Contents group.
- Click on the “Table of Contents” button and select the desired style from the dropdown menu.
Congratulations! You have successfully created a Table of Contents in Microsoft Word.
Conclusion
In conclusion, the Microsoft Word Table of Contents is a valuable tool that enhances the organization, navigation, and professionalism of your documents.
By following the simple steps outlined in this article, you can effortlessly create and customize a Table of Contents that suits your specific needs.
So, go ahead and leverage the power of Microsoft Word to make your documents more user-friendly and visually appealing.
